How To Move From Figma To Framer?
Learn how to move your website design from Figma to Framer using the official Figma to Framer plugin, including the complete process, responsive adjustments, components, interactions, and final checks.

Designing a website in Figma and then rebuilding the same layout from scratch in Framer can take unnecessary time. Fortunately, Framer provides an official Figma to Framer plugin that makes it much easier to transfer your design.
The plugin lets you copy selected designs from Figma and paste them directly into a Framer project while keeping elements such as text, images, layers, and visual styling editable.
Looking for a faster way to build your next Framer website? Explore our Framer Templates for ready-to-use website designs, or browse Framer Blocks to find individual sections you can mix and match for your project.
However, importing a design does not mean the website is completely ready to publish. You will usually need to review the layout, make it responsive, and recreate some interactions inside Framer.
How to Use the Figma to Framer Plugin
The Figma to Framer plugin is one of the easiest ways to move an existing Figma website design into Framer.
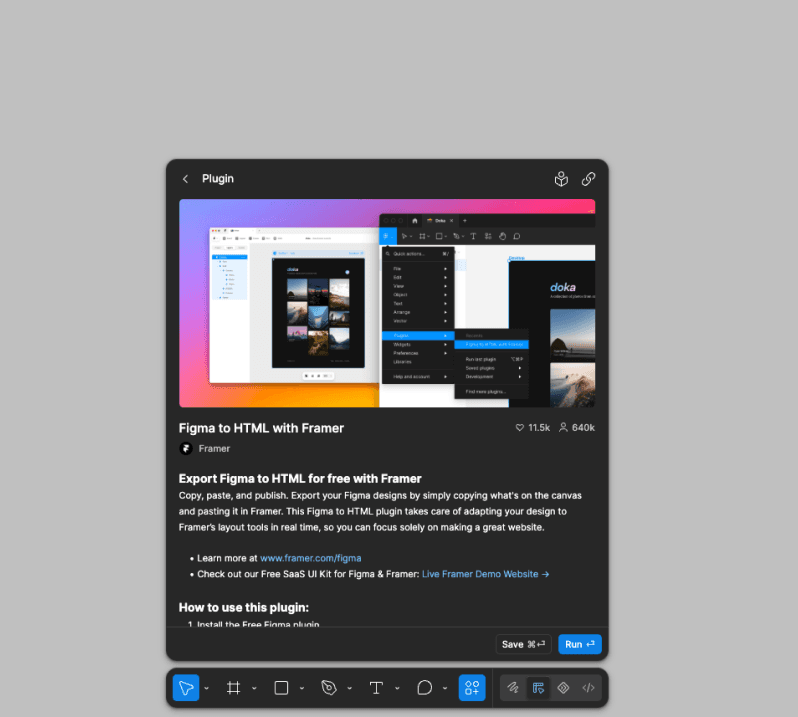
Here is How the Process works:
Moving your design from Figma to Framer is a simple process when you break it down into a few steps. The following sections walk you through each stage, from preparing your Figma file to checking the final Framer website.
Step 1: Prepare Your Figma Design
Before moving anything into Framer, spend a few minutes cleaning up your Figma file.
A well-organised Figma design is usually easier to manage after importing.
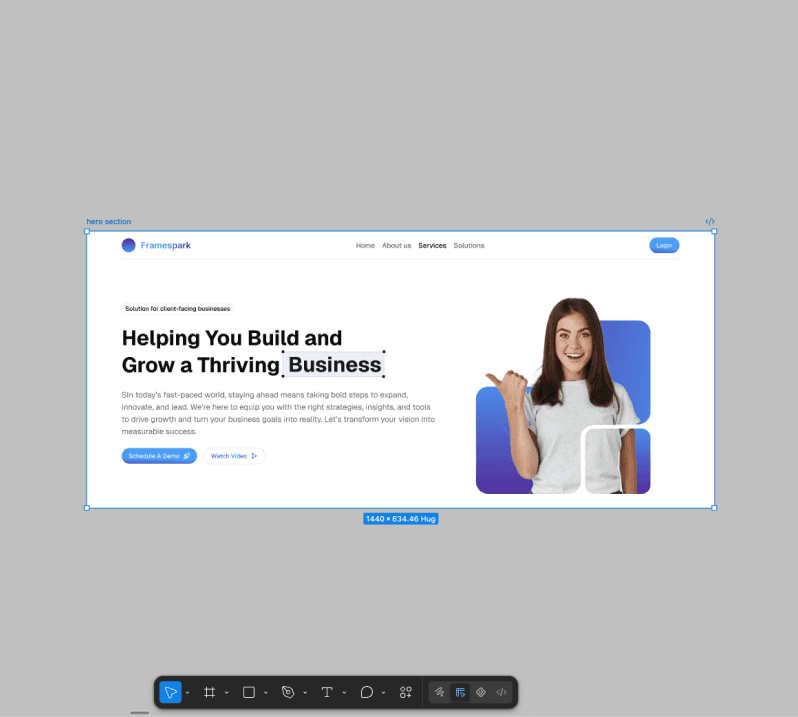
Remove layers or elements that are no longer being used and make sure your main sections are grouped properly.
It is also helpful to check your:
Frames
Auto Layout
Typography
Images
Icons and SVGs
Spacing
Layer structure
You do not need to completely restructure your Figma file before importing it. The goal is simply to avoid transferring unnecessary or confusing layers into Framer.
If your design already uses Auto Layout properly, it can also give you a better starting point when rebuilding responsive layouts in Framer.
Step 2: Install the Figma to Framer Plugin
Open your website design in Figma and install Framer's official Figma to Framer plugin.
You can find the plugin through Figma's plugin library.
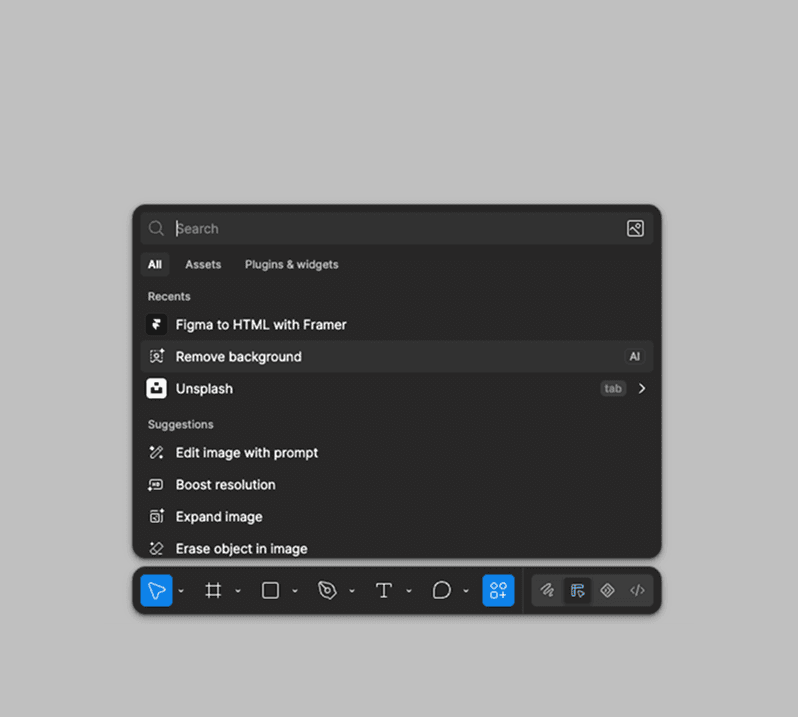
Once installed, you can run it directly from your Figma file whenever you want to transfer a design.
Step 3: Select the Design You Want to Move
Next, select the frame or section that you want to transfer to Framer.
For example, you could select:
A hero section
Navigation
Features section
Pricing section
Footer
Complete landing page
For a small landing page, transferring the complete page can work well.
For larger or more complicated websites, it is usually easier to move the design section by section. This gives you more control and makes it easier to clean up the structure after importing.
Step 4: Copy the Design With the Plugin
After selecting your design, open the Figma to Framer plugin.
The plugin processes the selected elements and prepares them so they can be pasted into Framer.
Use the plugin's copy option to copy the selected design.
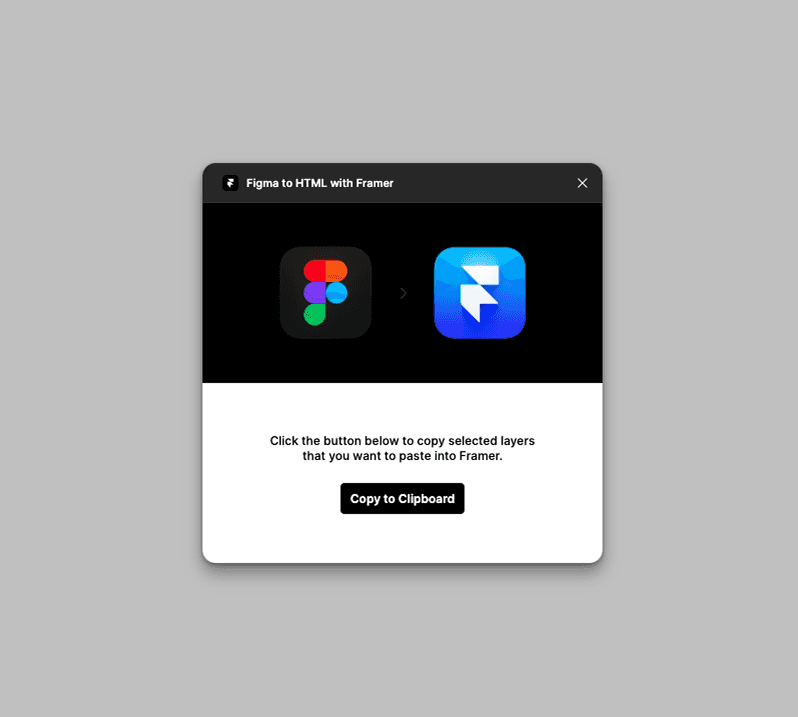
At this stage, you are not exporting a normal image. The design is being prepared so Framer can recreate the selected elements as editable layers.
Step 5: Paste the Design Into Framer
Now open the Framer project where you want to use the design.
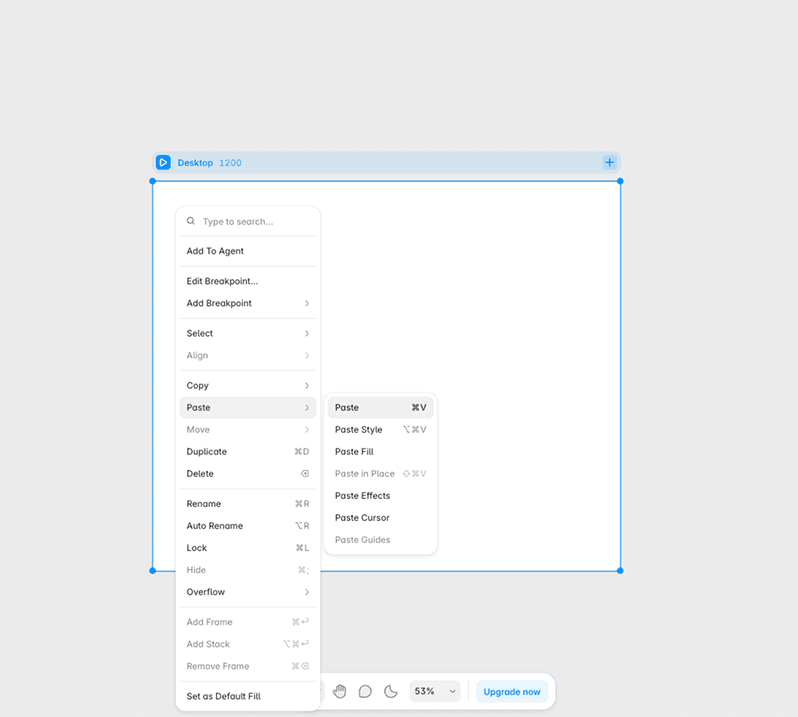
Click on the Framer canvas and paste the copied design.
On Mac, use:
Command + V
On Windows, use:
Ctrl + V
Your Figma design should now appear inside the Framer canvas.
Once the design has been pasted, compare it with the original Figma file.
Check important details such as:
Text
Font styles
Images
Colors
Spacing
Alignment
Border radius
Shadows
Section sizes
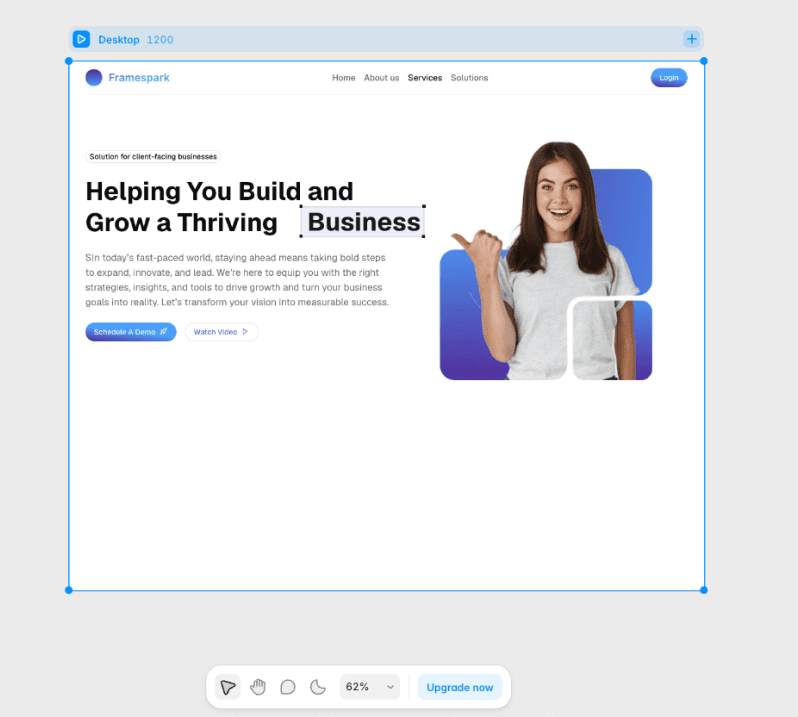
Most of the visual design should give you a good starting point, but some elements may require adjustments.
Things to Check After Moving Figma to Framer
Importing the design is only one part of the process.
Figma is primarily used to design interfaces, while Framer is used to turn those interfaces into responsive websites. Because of this, some website behavior needs to be configured inside Framer.
Pay particular attention to your fonts and assets.
If your Figma file uses a custom font that is not available in your Framer project, you may need to upload or configure that font separately.
Also check SVGs, background images, gradients, icons, and other visual assets to make sure they appear correctly.
Another important area is components.
If your design contains repeated elements such as buttons, cards, navigation items, or testimonials, consider converting them into reusable Framer components instead of maintaining multiple independent copies.
Important: Figma prototype interactions and responsive behaviour need to be recreated or adjusted inside Framer.
For example, a hover animation or prototype transition created in Figma should not automatically be considered the final website interaction. Review these effects and create the appropriate behaviour using Framer's native interaction and animation tools.
Make the Design Responsive in Framer
A design that looks correct on desktop may not automatically work correctly on smaller screens.
After importing your design, check it across the main responsive sizes:
Desktop → Tablet → Mobile
Start by checking how sections resize when the browser width changes.
Use Framer's layout tools such as Stacks, flexible widths, gaps, padding, and responsive sizing where required.
Pay particular attention to:
Navigation
Multi-column layouts
Large headings
Images
Cards
Buttons
Section padding
For example, a three-column feature section on desktop may need to become two columns on tablet and a single column on mobile.
Do not focus only on making the mobile version look visually correct. Make sure the layout can adapt naturally between different screen sizes as well.
Final Check Before Publishing
Before publishing your website, review the complete page one final time.
Use this simple checklist:
✓ The Framer design visually matches the original Figma design
✓ Fonts and font weights are correct
✓ Desktop, tablet, and mobile layouts work properly
✓ Buttons and navigation links work
✓ Hover effects and animations behave correctly
✓ There is no unwanted horizontal scrolling
✓ Images and SVGs load correctly
✓ Spacing and alignment remain consistent across breakpoints
It is also worth previewing the website inside Framer rather than checking only the editor canvas. This helps you test the page more like a real visitor would experience it.
Conclusion
Moving a design from Figma to Framer is relatively straightforward with the official Figma to Framer plugin.
The basic process is simple: prepare your Figma design, select the required section, copy it using the plugin, and paste it into Framer.
However, the imported design should be treated as a starting point rather than a completely finished website.
After importing, spend some time checking fonts, assets, layout structure, responsiveness, components, and interactions. Once these elements are working correctly across different screen sizes, your Figma design is ready to become a fully functional Framer website.
Ready to build your Framer website faster? Explore our Framer Templates for complete website designs or browse Interactive Framer Blocks for ready-made sections you can customize and combine.


